Email tags for marketing 101: Understanding tagging and segmentation
By Rhonda Bradley May 20, 2024
When you’re on the outside looking in, email tags, segmentation, and personalization can sound confusing as all heck.
After all, it wasn’t that long ago when “personalization” meant putting the person’s name in the email greeting instead of ‘Dear Sir or Ma’am.”
Today, personalization means delivering the right content to the right people at the right time.
And where personalization was once a nice perk, now consumers expect it — and many aren’t willing to do business with you if you’re not customizing their content.
In email marketing, this means working with behavioral data to segment and customize your campaigns.
At the heart of it all is email tagging.
What if, in just ten minutes time, you could master the concept of email tagging and personalization, and begin drafting campaign ideas to boost your ROI and revenue?
In this guide, we explain all the key concepts related to email tags, with crystal clarity. By the time you finish reading, you’ll be ready to brainstorm ideas for customized email series ideas and start tagging your subscribers so you can send them personalized email content.
What are email tags?
In marketing, email tags are internal keywords (labels) you assign to people on your email list.
Email tagging lets you categorize your subscribers into different groups of people (“segments”) based on their interactions with your brand.
This lets you customize content for different groups of people and send them targeted email series based on their interests.
For example, imagine you’re a food blogger and someone clicks on a link in your email newsletter titled “10 best Mediterranean Restaurants in the U.S.”
You tag them with the label “Mediterranean Foodie” and your email software automatically sends them a coupon for your “Mediterranean Diet Cookbook.”
👉 The beauty of email tags is that (with the right email marketing platform) once you set them up, you can automate the entire process of sending of personalized email series that deliver the right content to the right people.
For example, after I hadn’t used the Daily Burn fitness platform for a while, I got tagged and put on a list to receive discount-focused emails like the one below.

In another example, Sheet Music Plus knows that I like to buy piano sheet music.
The company (or rather, its email software) remembers that I purchased Taylor Swift songs many years ago. So they sent me this email announcement about a newly released piece of Taylor Swift piano sheet music.

Your subscribers can be tagged in many many ways, such as by the products they purchase, coupons they use, and emails they interact with.
What is the purpose of email tagging?
Email tags categorize your subscribers for better, more personalized email marketing results.
Tagging helps you:
- Organize your email list: Tags create an easily searchable system within your email platform.
- Segment your audience: Group subscribers by specific interests or behaviors for targeted email campaigns.
- Send more personalized emails: Deliver valuable, relevant content to each subscriber based on their unique tag profile
Why email tags matter to businesses and marketers
Email tagging lets you personalize the content you send to your subscribers. And there’s nothing that can make or break the success of your marketing efforts like personalization.
Not only do today’s consumers prefer personalized content, but most of them expect it.
A recent report by McKinsey found that 71% of consumers expect companies to personalize their interactions and 76% get frustrated with generic, non-personalized marketing content.
Additionally, personalized marketing campaigns:
- Increase return on investment (ROI) by 10 – 30%.
- Boost overall revenue by 10 – 15%.
- Increase brand loyalty and improve relationships.
Whether you’re aiming for a boost in revenue, ROI, conversions, or referrals, email tagging is the entry point to personalization for email marketing.
How do email tags work?
Email tags let you separate your entire email list into categories so you can send automated, targeted campaigns that align with their interests, or “behavior.”
Demographic and geographic data can help you segment your list into interest groups.
However, the real benefits of email tagging lie in behavioral-based tagging.
Behavioral tagging labels subscribers based on their interactions with your emails and website. It lets you set up tagging, segmentation, and campaigns based on behavioral data such as which emails people open, CTAs they click on, purchases they make, and more.
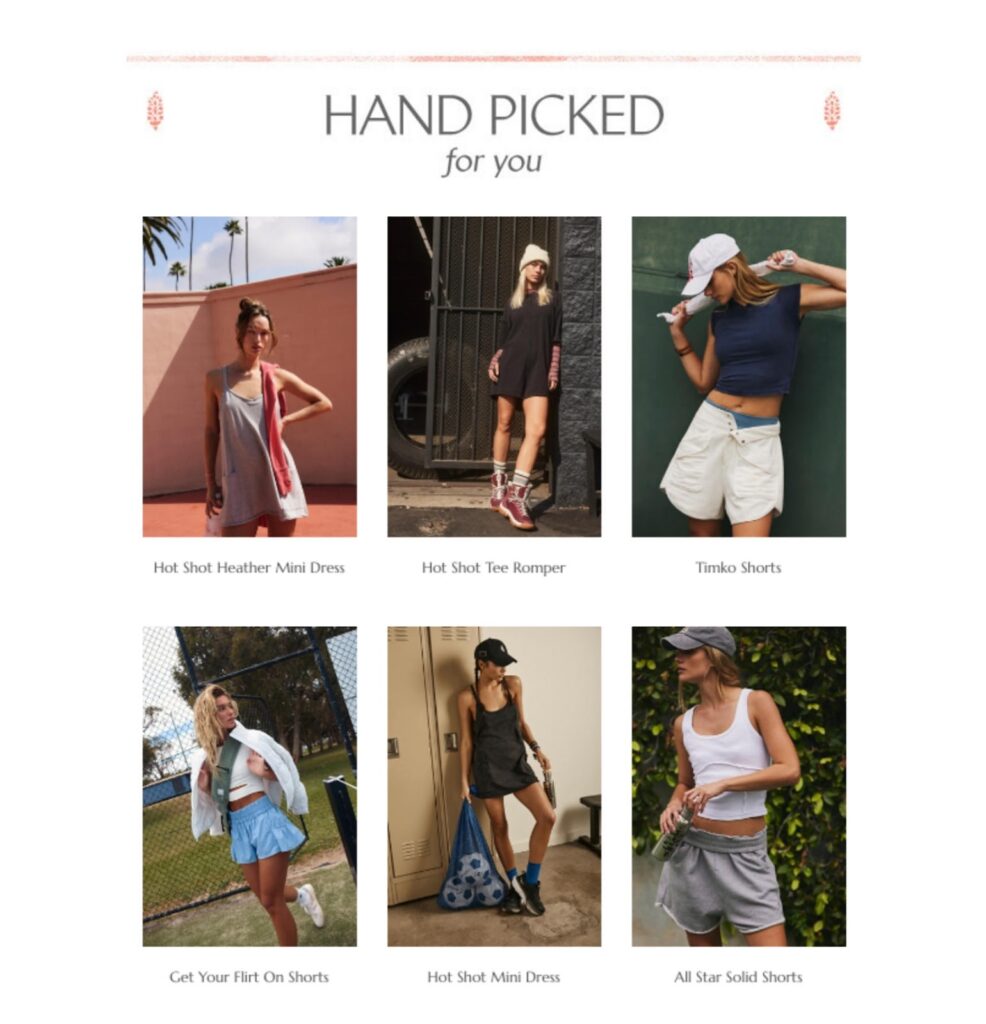
For example, a clothing store might send recommendations for women’s shorts to women who have purchased shorts from them in the past, as Free People does in the email below.
Here’s an example of how email tagging works:
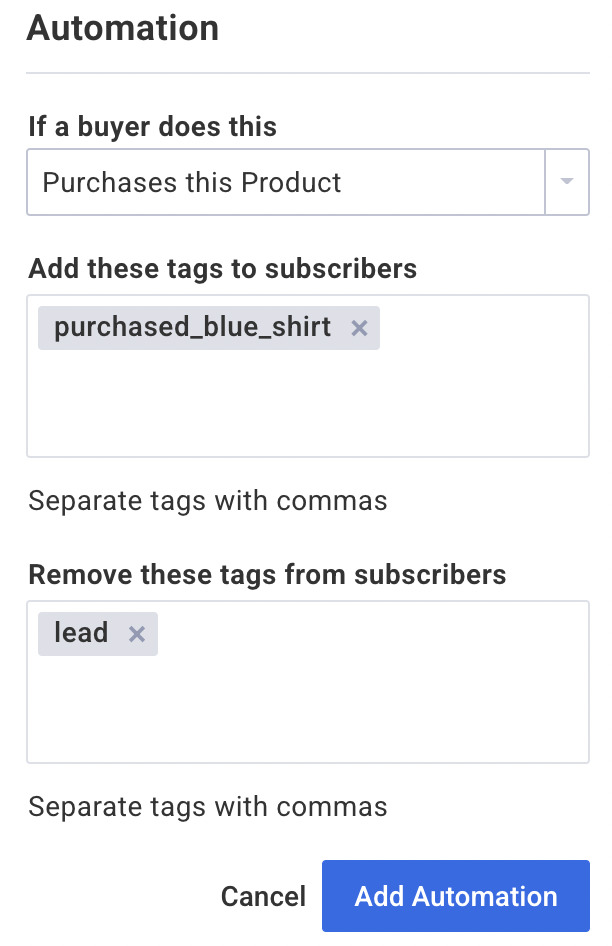
- A person clicks on a link (a “behavior”) in your email and a tag is automatically assigned to them.
- Tagged subscribers are added to campaign-specific lists called “segments.”
- Subscribers receive personalized email campaigns based on the tags assigned to them.
Most email tagging is automated using email marketing software. But before automation begins, you choose the tags, segments, and campaigns that will be used. This gives you complete control over how your subscribers are categorized and what content they receive.
What’s the difference between email tags, segments, and campaigns?
Email tags and segments are both used to organize and categorize your email subscribers so you can send them personalized emails and campaigns.
Email tags are internal keywords you assign to different people. Segments are the groups you form based on shared interests. Personalized campaigns are the email series you send to different segments of your list.
Email tags
- Email tags definition: Internal keywords you assign to individual subscribers
- Example: “Customer,” “Vegan,” “Beginner cook”
- Used for: Labeling subscribers according to their interests and behavior
Segments
- Segments definition: Groups of subscribers based on shared criteria.
- Examples: “Active customers,” “Vegans,” “Beginner cooking”
- Used for: Sending special (“personalized”) campaigns and content to different groups of people on your list.
Personalized email campaigns
- Personalized email campaigns definition: Email series you send to a specific segment, based on their potential interest in the content.
- Examples: People with the tag “vegan” receive your vegan recipe series. People tagged with “Meat lovers” receive your hamburger recipes series.
- Used for: sending special promotions and content to segments of your email list.
For example, imagine you’re a chef with an email list who sends cooking tips to your subscribers. You have an impressive collection of vegan recipes, but you know not all your subscribers are interested in vegan food.
So you create a category of subscribers, or “segment,” titled “Vegan recipes. You’ll send all your delightful vegan recipes to this segment of your list!
This is where email tags come in.
You send out a multiple-choice poll to the people on your email list asking what type of food they like best. One of the choices is “vegan.”
People who check “vegan” are automatically added to your new vegan segment and they begin to receive your personalized email campaign with vegan recipes.
6 Popular types of email tags and how to use them
1 – Lead magnet tags
Tag subscribers according to the lead magnets they download. This type of tagging helps you understand what type of people prefer and where they’re at in your marketing funnel.
For example, if you run a pet grooming service and offer an ebook titled “15 Training Tips for Small Dogs” you might tag the people who download the ebook as “Small dog lead magnet.” Or, you might tag them with two different labels: “Small dogs” and “Dog training.”
In the example below Petco sends dog food and dog treat promotions to customers tagged as dog owners.

2 – Purchase history tags
Tag subscribers according to their past purchases, purchase categories, or the amount and frequency of their purchases.
You can use purchase history to send personalized product recommendations or exclusive offers that are relative to their spending habits.
For example, in the email below, Ipsy Beauty recommends a customized list of products it thinks the customer may be running low on.

3 – Interest tags
Tag subscribers based on the interests and information they express in your signup forms, surveys, and polls.
For example, in our blog welcome campaign, we ask what topics subscribers are most interested in learning about, and tag them according to their answers, so we can send relevant content.
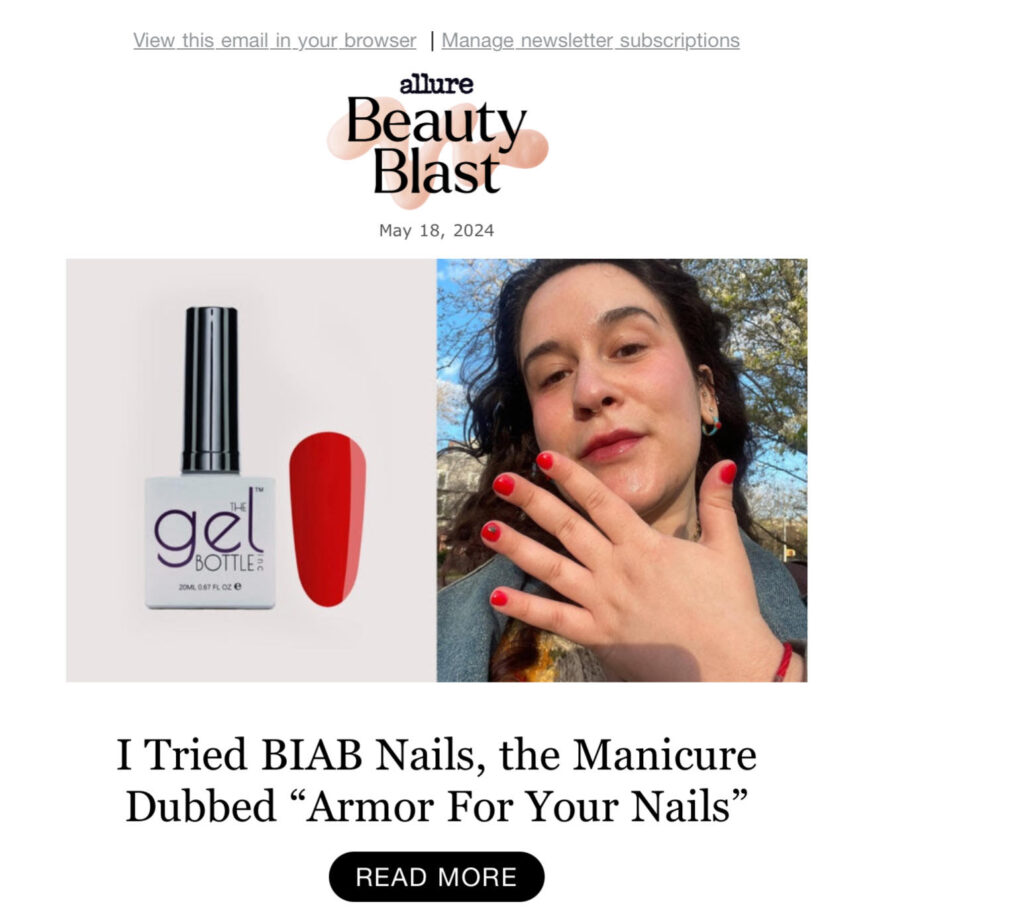
In the email example below, Allure Beauty promotes its latest nail products to people who have shown an interest in them in the past.
4 – Engagement tags
Track how subscribers interact with your emails and website, including email opens, CTA clicks, and abandoned carts.
This lets you send a variety of email campaigns, such as
- Re-engagement email campaigns designed to win back the interest of people who haven’t opened or engaged with your emails lately.
- Abandoned cart emails reminding people that they’ve left something in their online shopping cart, and encouraging them to return and make the purchase.
- Holiday campaigns that align with the type of email holiday promotions they’ve clicked on in past emails.
For example, you can tag subscribers when they open specific messages in your campaign.
This helps you identify people who expressed an interest in specific topics.
5 – Marketing funnel tags
For companies that offer services such as coaching, fitness training, financial planning, etc, you can tag email subscribers based on where they’re at in the marketing funnel.
You can tag subscribers in this way by using behavioral indicators such as:
- Which email CTAs they click on
- What content they download
- Whether they sign up for a free consultation
For example, here’s how someone with a life coaching practice might tag and segment according to the marketing funnel:
Send awareness stage content, such as “How to organize your life in 5 minutes a day” to people who interact with general content about your industry.
Send consideration stage content, such as “How to choose the best life coach for your needs” to people who know what they need but are just learning about what types of services are available.
Send decision-stage content, such as special promotions, free consultations, and a list of coaching benefits, to people who are making a decision about which coach to hire.
Send loyalty stage content to current and former clients to encourage reviews and referrals.
6 – Event tags
Label subscribers who’ve attended your events, such as webinars and workshops.
Event tags let you send follow-up content with relevant lead magnets (such as an exclusive ebook or event recording) and special offers.
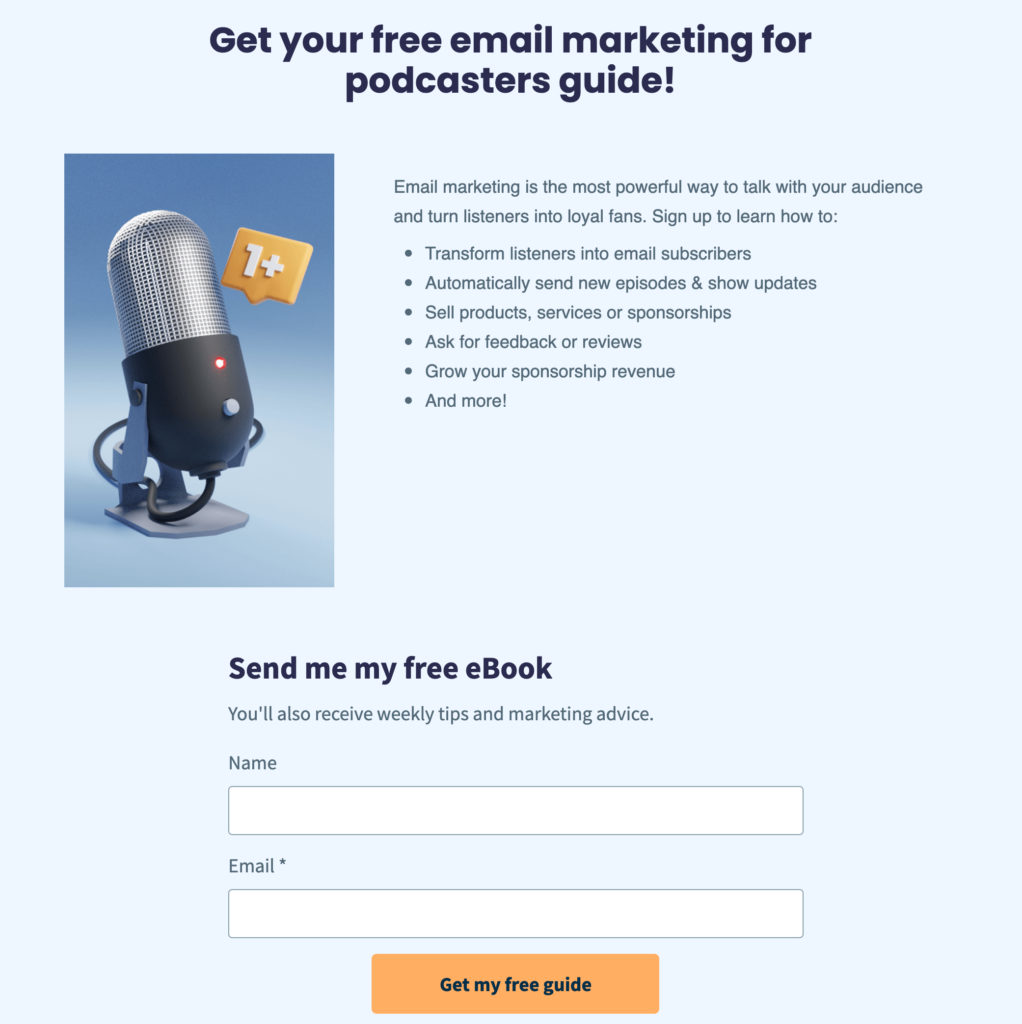
If you attend in-person events, you can create a signup form on your mobile device to collect new subscriber emails in person. Then use tags to remind you which event you met them at.
You can even set up an automated welcome email series ahead of time to go out to each new subscriber you met at the event.
Here’s the landing page we used at Podcast Movement to get podcasters signed up for our newsletter:
These are only six of the many ways to tag email subscribers for segmentation and personalized campaigns.
If you’re just getting started with email segmentation, choose one of the tagging styles above to help you personalize your email content.
As you become more comfortable with tagging and segmentation (it won’t take long), you can expand to other types of tags.
How to create an email tag (using AWeber)
To begin creating email tags in AWeber, start by determining what type of personalized campaigns you’d like to send.
Next, create segments to match your campaign ideas.
Finally, head over to AWeber or watch the video below for step-by-step instructions on how to create and assign email tags.
After you create tags, you’ll assign them to segments which you’ll then connect them to automated, personalized email series.
Email tagging for marketing personalization
Tagging and segmenting your email list lets you personalize content in a way that is almost certain to increase your email marketing ROI.
In this guide, we’ve explained what email tagging is and how it integrates with segmentation so you can send customized emails to groups of people on your subscriber list.
When you’re ready to get started, head on over to AWeber. We provide a comprehensive, sophisticated tagging system that includes behavioral segmentation.
And we let you put it all on autopilot!
Sign up for your AWeber account today and start personalizing your email marketing in no time!